This video shows the steps to run an emulator from the Device Manager of Android Studio. It also shows the steps to install or add a new emulatore (virtual device) in the Android Studio environment. The installed emulators’ files on the disk can be found at – C:\Users\.android\avd
I hope you like this video. For any questions, suggestions or appreciation please contact us at: https://programmerworld.co/contact/ or email at: programmerworld1990@gmail.com
Other details/ steps of this video:
Steps to run an emulator:
1 Without project environment loaded:

Click on More Actions


Click on the start
2. With project environment loaded:
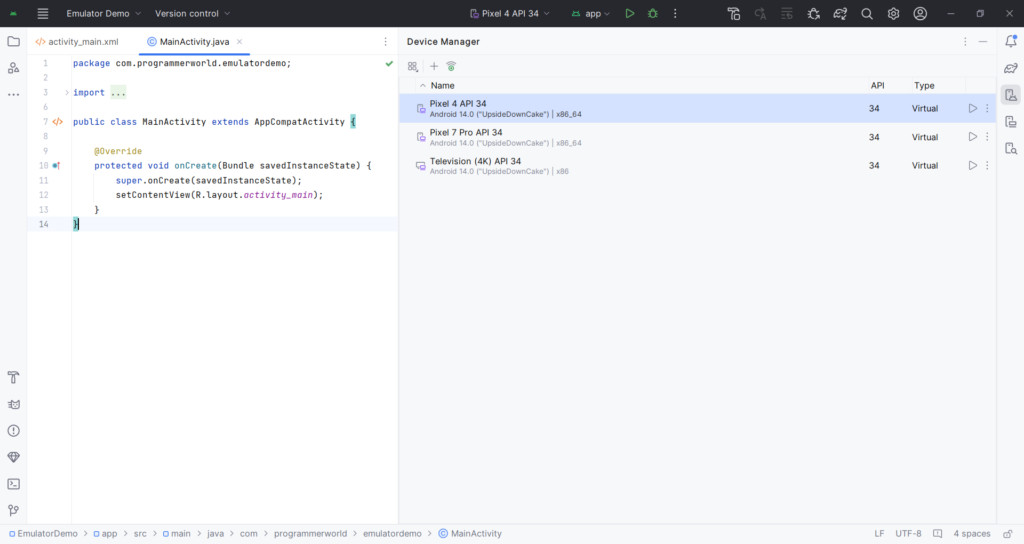
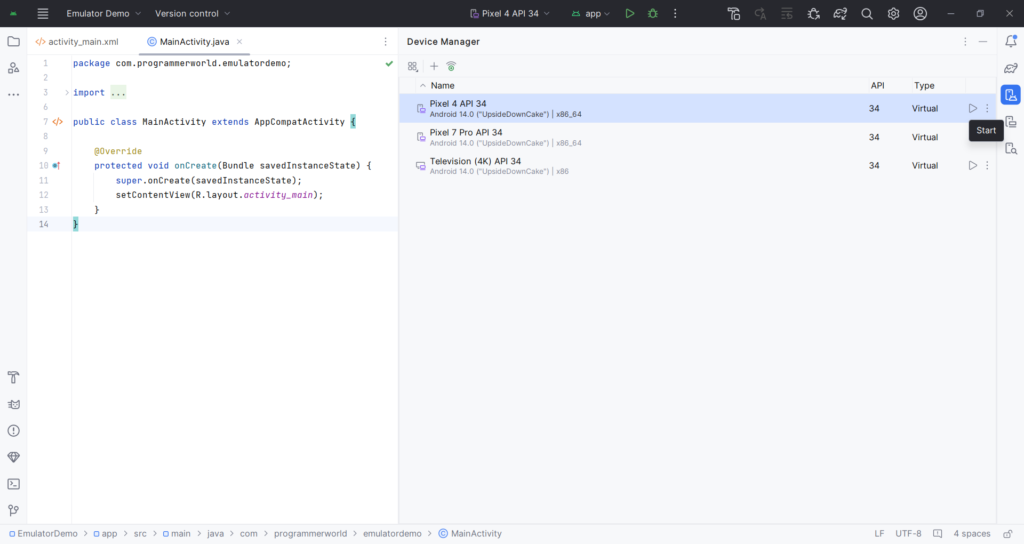
Click on the start
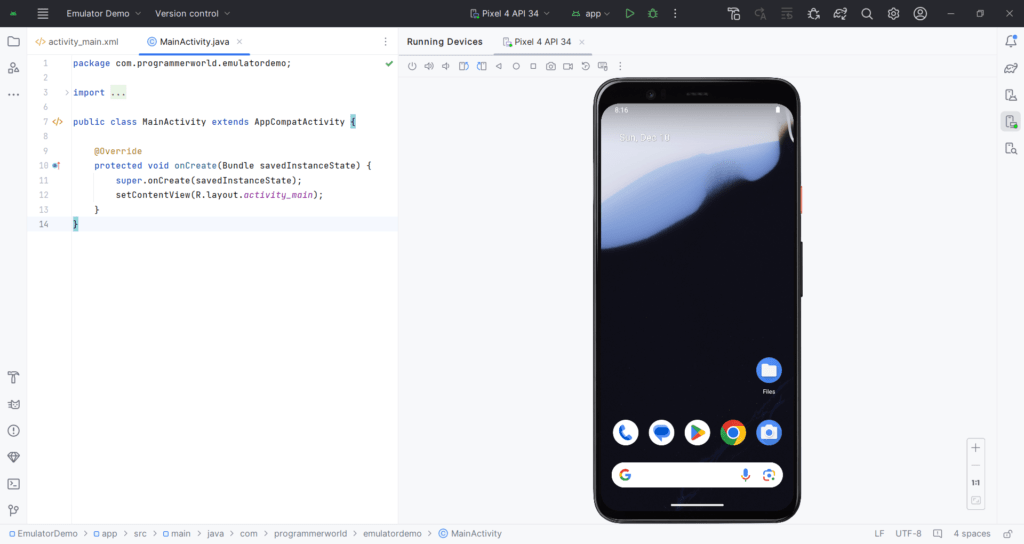
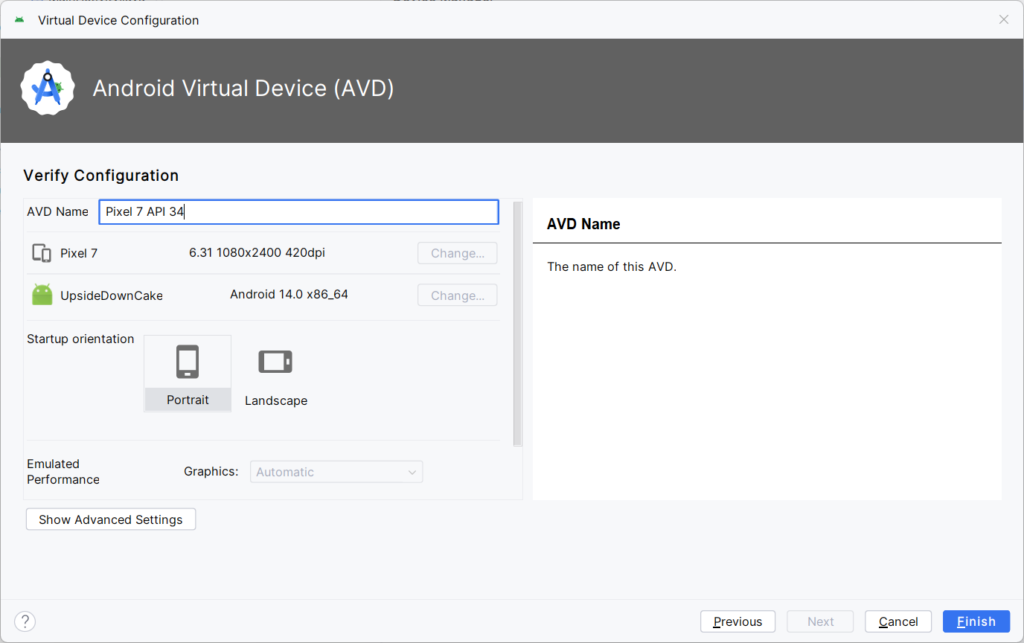
Steps to install an emulator/ add an AVD (Virtual device):
1 Without project environment loaded:

Click on Create Virtual Device


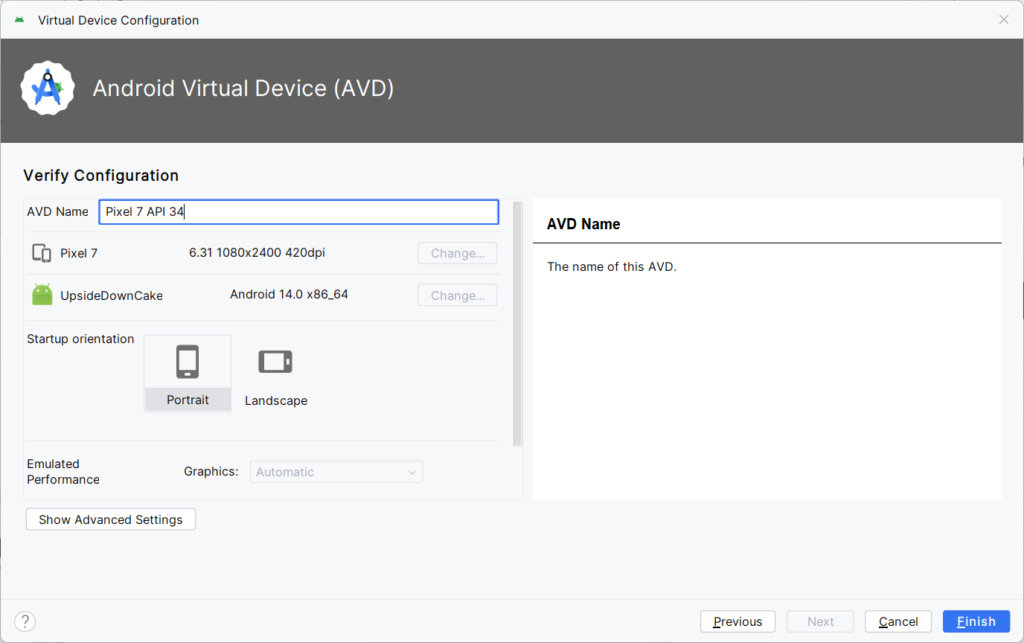
Click Finish
2. With project environment loaded:

Click on Create Virtual Device


All the installed emulators/ AVDs are located at the below on the disk:
C:\Users\USER\.android\avd

Excerpt:
The provided content is a video tutorial detailing how to run and install an emulator, or add a virtual device, from the Device Manager of Android Studio. The process changes slightly depending on whether or not a project environment is loaded. Additionally, the location of the installed emulators’ files on the computer disk has been shared. For further queries, comments, or suggestions, viewers are encouraged to reach out using the provided contact information.
