In this page it shows the steps to develop the Android App code to connect to the Oracle database. It briefly shows the steps to install and setup the Oracle database on your machine initially. Then it takes through the steps of how to include the jdbc JAR file in your Android Studio environment and then develop the Java code for connection. It just shows a simple query as an example of connection to the database.
I hope you like this video. For any questions, suggestions or appreciation please contact us at: https://programmerworld.co/contact/ or email at: programmerworld1990@gmail.com
Complete source code and other details/ steps below:
Java Code:
package com.programmerworld.oracledatabaseconnectionapp;

import androidx.appcompat.app.AppCompatActivity;

import android.os.Bundle;
import android.os.StrictMode;
import android.view.View;
import android.widget.TextView;
import android.widget.Toast;

import java.sql.Connection;
import java.sql.DriverManager;
import java.sql.ResultSet;
import java.sql.Statement;

public class MainActivity extends AppCompatActivity {

    private TextView textView;

    private static final String DRIVER = "oracle.jdbc.driver.OracleDriver";
    private  static final String URL = "jdbc:oracle:thin:@192.168.0.104:1521:XE";
    private static final String USERNAME = "CTXSYS";
    private static final String PASSWORD = "CTXSYS";

    private Connection connection;

    @Override
    protected void onCreate(Bundle savedInstanceState) {
        super.onCreate(savedInstanceState);
        setContentView(R.layout.activity_main);

        textView = findViewById(R.id.textView);
        StrictMode.ThreadPolicy threadPolicy = new StrictMode.ThreadPolicy.Builder().permitAll().build();
        StrictMode.setThreadPolicy(threadPolicy);
    }

    public void buttonConnectToOracleDB(View view){
        try {
            Class.forName(DRIVER);
            this.connection = DriverManager.getConnection(URL, USERNAME, PASSWORD);
            Toast.makeText(this, "CONNECTED", Toast.LENGTH_LONG).show();

            Statement statement = connection.createStatement();
            StringBuffer stringBuffer = new StringBuffer();
            ResultSet resultSet = statement.executeQuery("select TABLE_NAME from cat");
            while (resultSet.next()){
                stringBuffer.append(resultSet.getString(1) + "\n");
            }
            textView.setText(stringBuffer.toString());
            connection.close();
        }
        catch (Exception e){
            textView.setText(e.toString());
        }
    }
}
plugins {
    id 'com.android.application'
}

android {
    compileSdk 31

    defaultConfig {
        applicationId "com.programmerworld.oracledatabaseconnectionapp"
        minSdk 29
        targetSdk 31
        versionCode 1
        versionName "1.0"

        testInstrumentationRunner "androidx.test.runner.AndroidJUnitRunner"
    }

    buildTypes {
        release {
            minifyEnabled false
            proguardFiles getDefaultProguardFile('proguard-android-optimize.txt'), 'proguard-rules.pro'
        }
    }
    compileOptions {
        sourceCompatibility JavaVersion.VERSION_1_8
        targetCompatibility JavaVersion.VERSION_1_8
    }
}

dependencies {

    implementation 'androidx.appcompat:appcompat:1.4.1'
    implementation 'com.google.android.material:material:1.5.0'
    implementation 'androidx.constraintlayout:constraintlayout:2.1.3'
    implementation files('libs\\ojdbc14.jar')
    testImplementation 'junit:junit:4.13.2'
    androidTestImplementation 'androidx.test.ext:junit:1.1.3'
    androidTestImplementation 'androidx.test.espresso:espresso-core:3.4.0'
}<?xml version="1.0" encoding="utf-8"?>
<manifest xmlns:android="http://schemas.android.com/apk/res/android"
package="com.programmerworld.oracledatabaseconnectionapp">
<uses-permission android:name="android.permission.INTERNET"/>
<application
android:allowBackup="true"
android:icon="@mipmap/ic_launcher"
android:label="@string/app_name"
android:roundIcon="@mipmap/ic_launcher_round"
android:supportsRtl="true"
android:theme="@style/Theme.OracleDatabaseConnectionApp">
<activity
android:name=".MainActivity"
android:exported="true">
<intent-filter>
<action android:name="android.intent.action.MAIN" />
<category android:name="android.intent.category.LAUNCHER" />
</intent-filter>
</activity>
</application>
</manifest>
<?xml version="1.0" encoding="utf-8"?>
<androidx.constraintlayout.widget.ConstraintLayout xmlns:android="http://schemas.android.com/apk/res/android"
    xmlns:app="http://schemas.android.com/apk/res-auto"
    xmlns:tools="http://schemas.android.com/tools"
    android:layout_width="match_parent"
    android:layout_height="match_parent"
    tools:context=".MainActivity">

    <TextView
        android:id="@+id/textView"
        android:layout_width="344dp"
        android:layout_height="451dp"
        android:text="Hello World!"
        android:textSize="20sp"
        app:layout_constraintBottom_toBottomOf="parent"
        app:layout_constraintLeft_toLeftOf="parent"
        app:layout_constraintRight_toRightOf="parent"
        app:layout_constraintTop_toTopOf="parent"
        app:layout_constraintVertical_bias="0.731" />

    <Button
        android:id="@+id/button"
        android:layout_width="wrap_content"
        android:layout_height="wrap_content"
        android:layout_marginStart="95dp"
        android:layout_marginTop="59dp"
        android:onClick="buttonConnectToOracleDB"
        android:text="Connect to Oracle DB"
        app:layout_constraintStart_toStartOf="parent"
        app:layout_constraintTop_toTopOf="parent" />

</androidx.constraintlayout.widget.ConstraintLayout>

JAR File:
https://drive.google.com/drive/folders/1XRSIc-driOh0EkGnLlrJ4M6EZSPLfs6O?usp=sharing
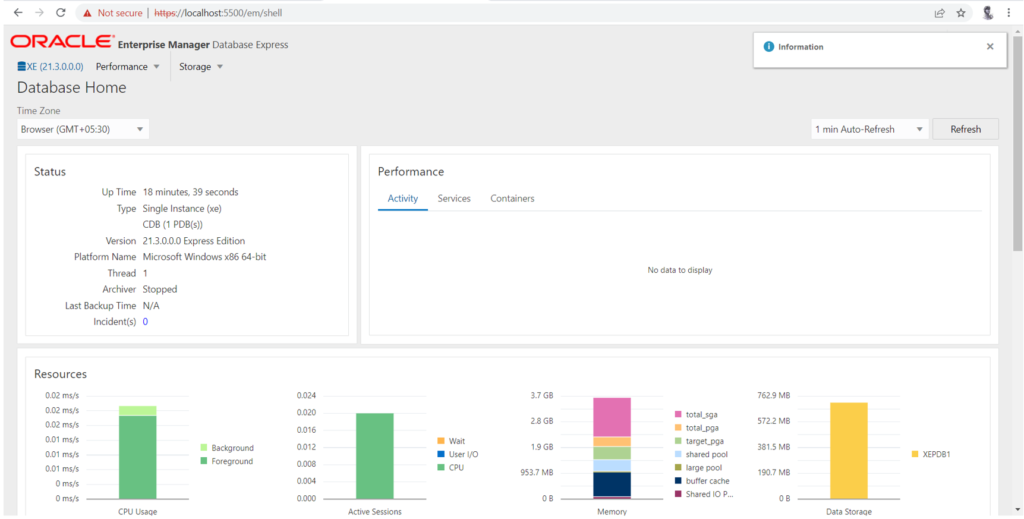
Oracle Database installation steps:
https://www.oracle.com/in/database/technologies/appdev/xe/quickstart.html


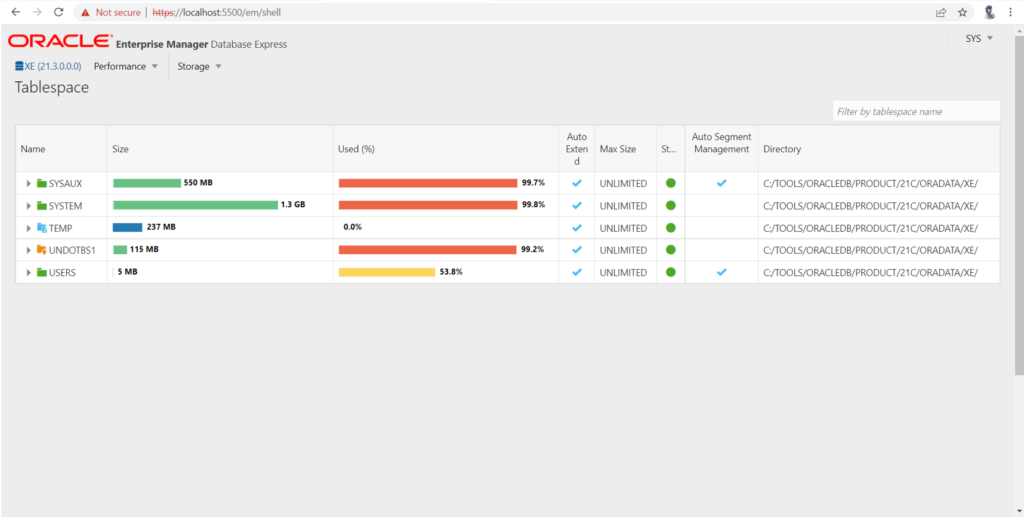
Post installation:
https://localhost:5500/em/shell

Enter Username and password in the above.


tnsnames.ora file (\\oracledb\product\21c\homes\OraDB21Home1\network\admin):
# tnsnames.ora Network Configuration File: C:\Tools\oracledb\product\21c\homes\OraDB21Home1\NETWORK\ADMIN\tnsnames.ora
# Generated by Oracle configuration tools.

XE =
  (DESCRIPTION =
    (ADDRESS = (PROTOCOL = TCP)(HOST = LAPTOP-4VP6E7BQ)(PORT = 1521))
    (CONNECT_DATA =
      (SERVER = DEDICATED)
      (SERVICE_NAME = XE)
    )
  )

LISTENER_XE =
  (ADDRESS = (PROTOCOL = TCP)(HOST = LAPTOP-4VP6E7BQ)(PORT = 1521))


ORACLR_CONNECTION_DATA =
  (DESCRIPTION =
    (ADDRESS_LIST =
      (ADDRESS = (PROTOCOL = IPC)(KEY = EXTPROC1521))
    )
    (CONNECT_DATA =
      (SID = CLRExtProc)
      (PRESENTATION = RO)
    )
  )
sqlnet.ora (oracledb\product\21c\homes\OraDB21Home1\network\admin):
# sqlnet.ora Network Configuration File: C:\Tools\oracledb\product\21c\homes\OraDB21Home1\NETWORK\ADMIN\sqlnet.ora
# Generated by Oracle configuration tools.

# This file is actually generated by netca. But if customers choose to
# install "Software Only", this file wont exist and without the native
# authentication, they will not be able to connect to the database on NT.

SQLNET.AUTHENTICATION_SERVICES= (NTS)

NAMES.DIRECTORY_PATH= (TNSNAMES, EZCONNECT)

SQLNET.ALLOWED_LOGON_VERSION=8
Test t the SQL Database setup:
C:>sqlplus CTXSYS/CTXSYS@//localhost:1521/XE

Example query used:
SQL> select TABLE_NAME from cat;

How to create CTXSYS user for login to the database?
If by default the CTXSYS login is not available or the below gives “invalid username or password” error
C:>sqlplus CTXSYS/CTXSYS@//localhost:1521/XE
then follow below steps:
- Login to the database using the sys user and respective password created during installation:
sqlplus sys/@//localhost:1521/XE as sysdba
- Then unlock the CTXSYS user by running below SQL command:
SQL> ALTER USER CTXSYS ACCOUNT UNLOCK;
- Then reset the password using:
SQL> alter user CTXSYS identified by CTXSYS;
After above CTXSYS user with the below command should work:
C:>sqlplus CTXSYS/CTXSYS@//localhost:1521/XE


After writing the java source code (1st program), where should we write the other two programs (the one with plugin and the one with textView and button)?
Other files are automatically created by the Android Studio IDE.
The one with plugin is the gradle file.
The other one with textView is the layout’s XML file.
Please follow the steps shown in the video and the program will work.
Cheers
Programmer World
–